I know, I know it is not Friday, but the completion of the Sleek bracelet was so close, it just had to be finished. Over the weekend I finished the beading and today I added the closure; it is now something I can wear!
The Sleek Bracelet indeed lives up to the definition of its name:
- Smooth and lustrous as if polished; glossy: long, sleek, blond hair.
- Able to or designed to move efficiently through air or water; streamlined: a sleek sedan.
- Thin and elegant in design: pair of sleek minarets anchored the skyline.
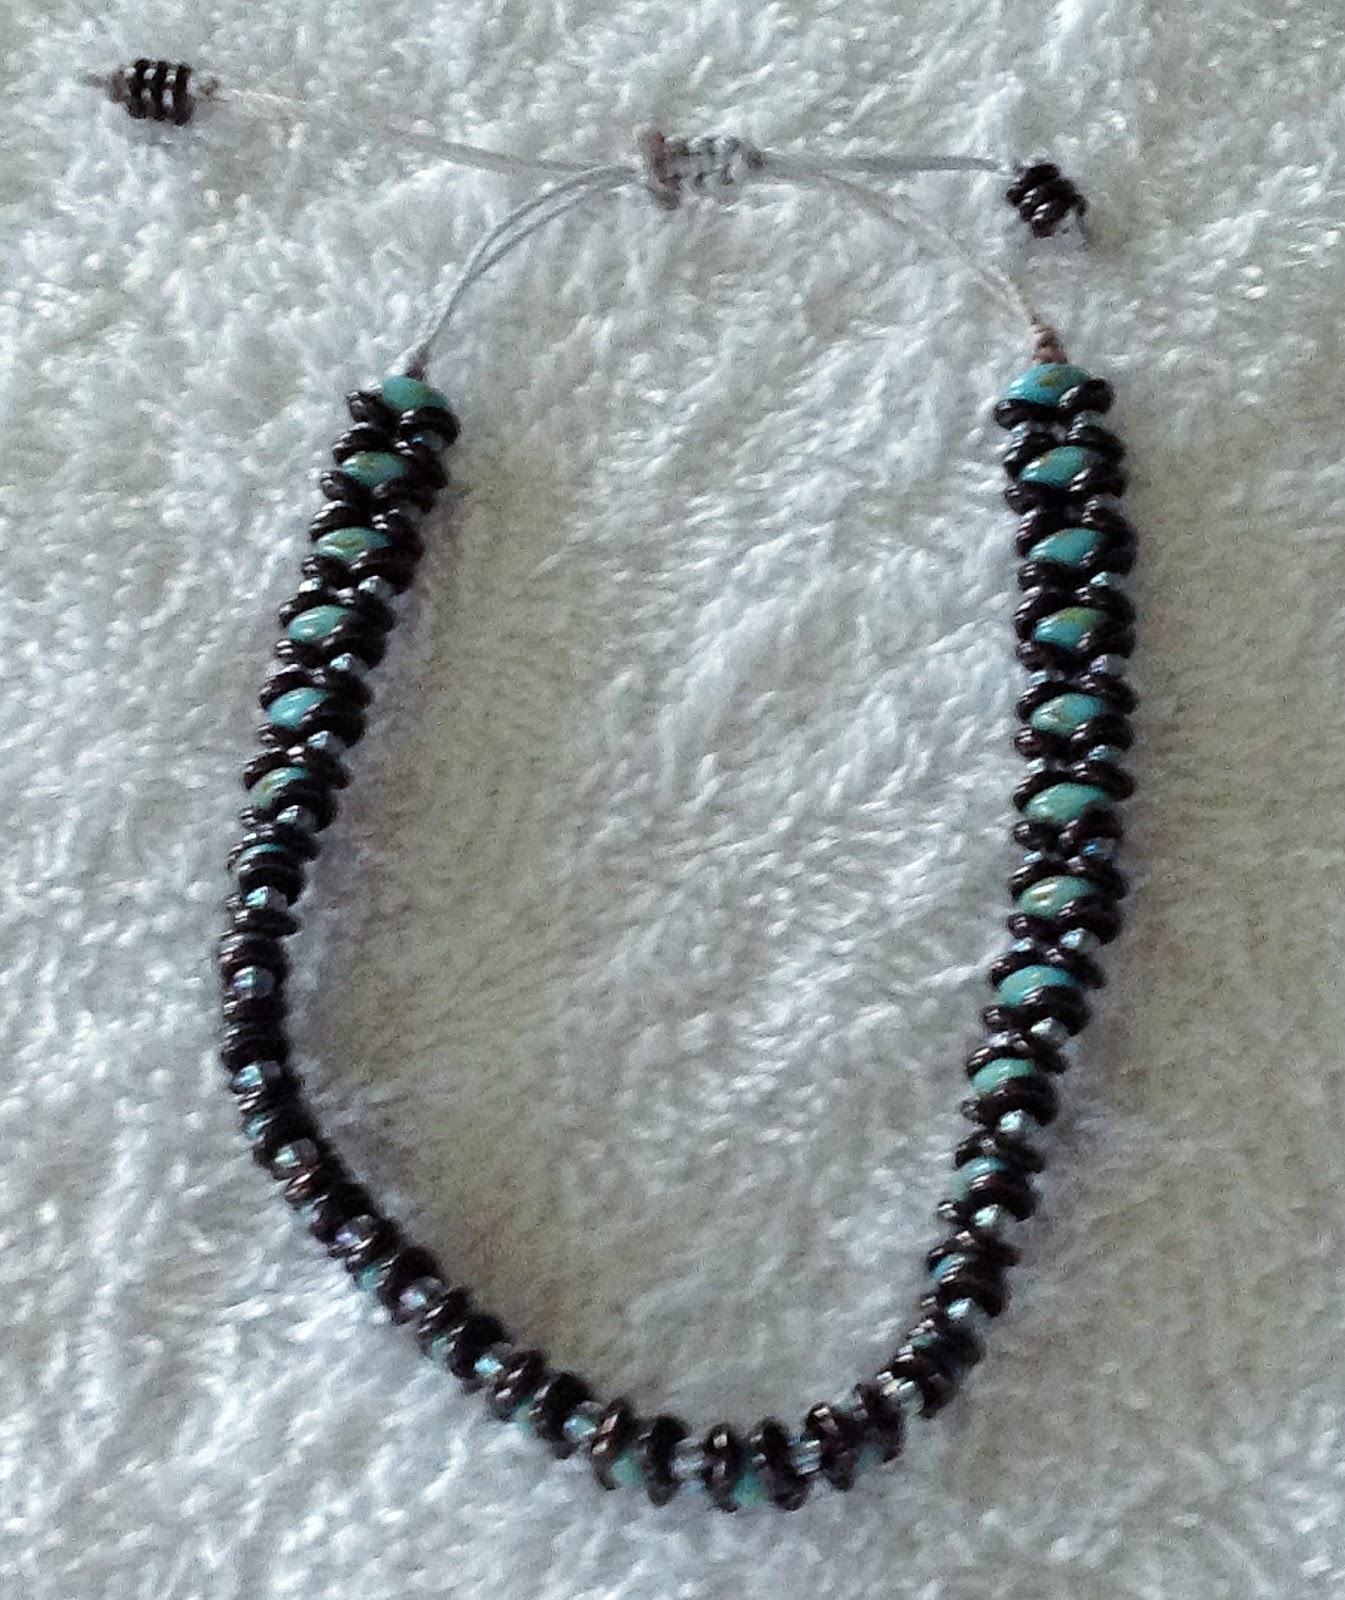
All three definitions fit it. The glass beads have such a lovely luster, the main body of beads are free allowing the design to flow and undulate between the anchor beads at the edges and the overall thin width and colours are elegant.
 |
| Paul had to take this photo for me. One-handed photo taking was not working. |
 |
| Note the slide closure and how the bracelet so easily collapses on itself |
So let's start the tour of different closures I have used for the bracelets recently made. I did add a different closure to the Sleek Bracelet from the one recommended, mine is a 2 loop slide. The pattern called for a toggle closure made with a small circular peyote and a loop of beads (see below), but to me it seemed too large and clunky for this otherwise slight bracelet.
 |
| From jillwisemandesigns.com |
The gold tone in my 2 loop slide closure was perfect for the colour palate in my bracelet. The main advantages to this type of closure is it is secure and affordable, but sliding it together with one hand can be challenge. The better use for it would be a necklace.
With the Super O Bracelet a macrame knot closure was used. It is very secure, about the cheapest closure one can use because it is made from thread you already have and is very adjustable to accommodate variances in wrist size. The disadvantage is it too can be difficult to operate with just one hand and one's ability to drop a bead of glue in the right place is essential to keep the knots from coming apart over time.
 |
| See the square knots up there keeping the ends together |
With the wrap bracelet I chose to use a magnetic closure.
 |
| There it is pulled out at the bottom of the photo |
This closure uses the power of magnets. When the two ends are placed near each other, the magnets pull them shut so one-handed closures are very simple. To open the clasp, you slide your fingernail between the two parts. When the magnet is as small as mine this can be tricky. What you do not want to do is pull the two magnets apart, this puts a great deal of wear and tear on the string holding the beads together. I have been warned each time magnetic closures were purchased that they are not particularly secure. A strong tug might pull the magnets open.

This simple ladder bracelet was my first. It used the same techniques of ladder making used in the ornament covers. The owner of the shop where I took the class suggested I try making it and she helped me with the bar and toggle closure. The two ends were secured to the bracelet with a V-shaped tray where beads slid in to help with the continuity of the colour. This closure is excellent for bracelets since it is very easy to operate with one hand. Besides one-handed operation, the advantage of a bar and toggle closure is its beauty. This clasp adds a statement to a piece of jewelry; it can even be the focal point of some designs. However, this isn't ideal for every item. The bar can catch on hair when used in necklaces, making it less secure and potentially annoying to the wearer. It also doesn't work well if there's too much slack in the bracelet or necklace as it requires a certain amount of tension to keep it securely closed.
So ends my short tour of bracelet closures so far. I have yet to use the following:
lobster clasp,
box clasp,
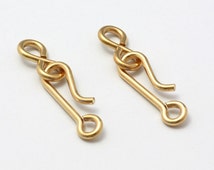
hook and eye, and
spring ring clasp just to name a few of the options I know about at this point in my journey. This tour will continue and as I go I will be able to sort out my own opinions about what works best for the types of jewelry I'm making.


Comments
Post a Comment